Easy Watercolor Tulip Tutorial for Beginners (3 Simple Techniques for “Reluctant Artists”)

If you’ve ever said, “I’m just not artistic,” this watercolor tulip tutorial is for you.
Today we’re going to paint loose, beautiful tulips using only three colors, simple brushwork, and zero pressure for perfection. This is all about learning to enjoy watercolor, not control it.
Watercolor has a mind of its own… and honestly, that’s part of the magic.
Let’s keep it simple and make something beautiful together.
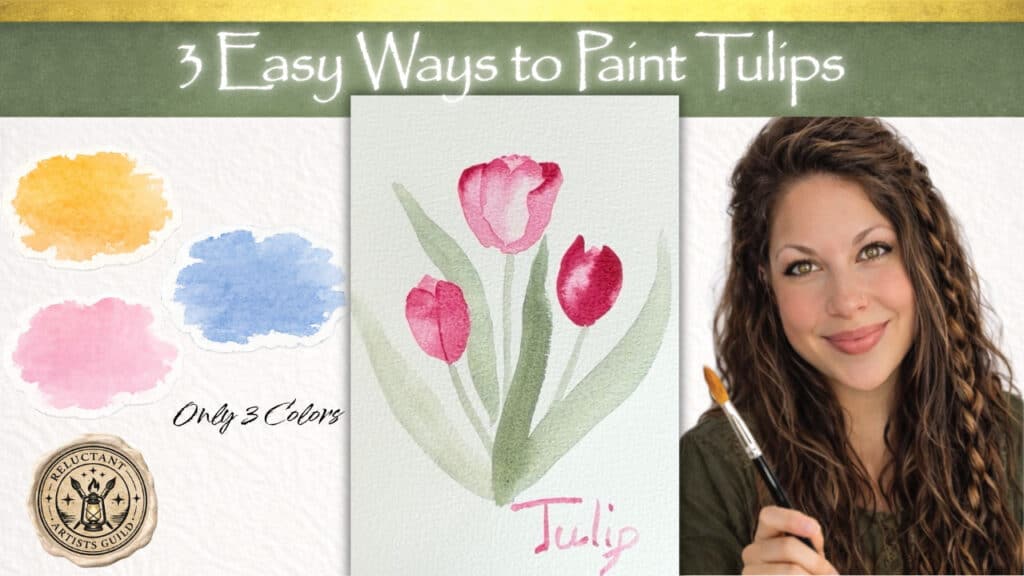
Table of Contents
What You’ll Learn
- How to paint loose watercolor tulips using simple shapes
- How to create soft petal blends using wet-on-wet and wet-on-dry techniques
- How to build depth and dimension in flowers without sketching outlines
- How to mix natural greens for stems and leaves using basic colors
- How to paint three different tulip styles from one simple method
- How to let go of perfection and enjoy the watercolor process
🎥 Watch the Full Tutorial

Supplies for This Tulip Watercolor Tutorial
You don’t need anything fancy, just a few basics:
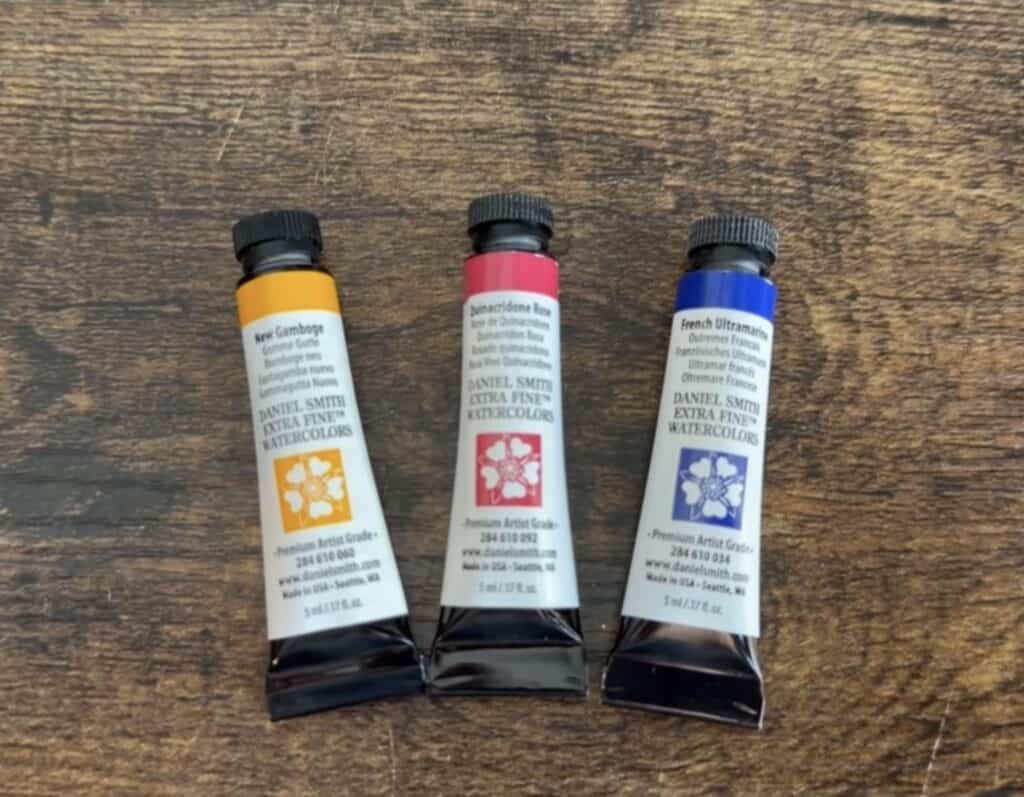
Paint Colors (3 total):
- New Gamboge (warm yellow)
- Quinacridone Rose (cool red/pink)
- French Ultramarine (warm blue)
👉 Don’t stress about brands. Any warm yellow, cool red, and warm blue will work just fine.
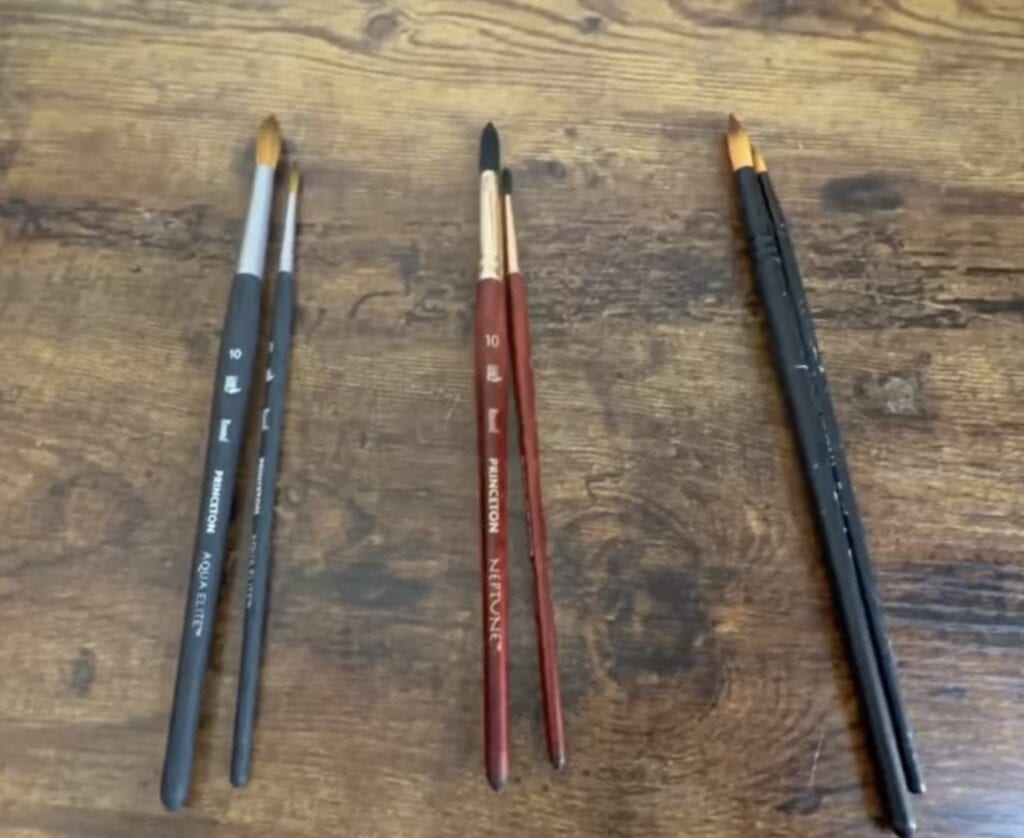
Brushes:
- Round brush size 3 (for details and stems)
- Round brush size 10 (for petals and washes)
A pointed tip helps, but again, no pressure. Use what you have.
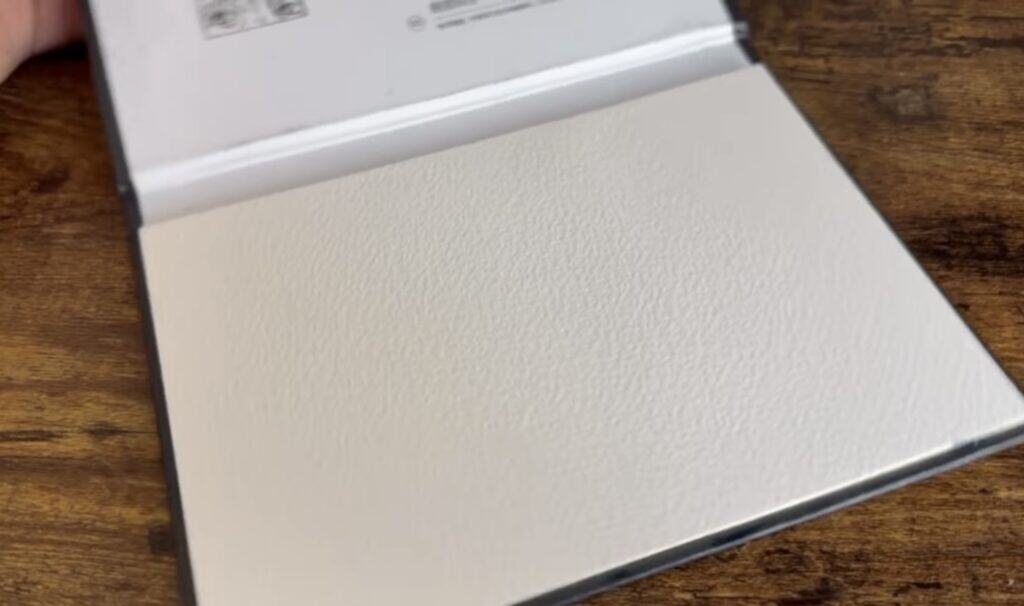
Paper:
For the best results, I highly recommend 100% cotton watercolor paper. It makes a huge difference in how the paint flows and blends.
A watercolor block is especially helpful because it keeps your paper flat and stable while painting.
Supplies (Amazon Links)
(Some links are affiliate links: see note below)
• Watercolor Paints: Daniel Smith Professional Watercolors
• Paper: Arches Natural White 100% Cotton Cold Pressed
• Brushes: Princeton Aqua Elite
• Brushes: Princeton Neptune
or
• Watercolor Paints: MeiLiang Pretty Excellent Watercolors
• Paper: Paul Rubens Natural White 100% Cotton Cold Pressed
• Brushes: Windsor & Newton Cotman Round
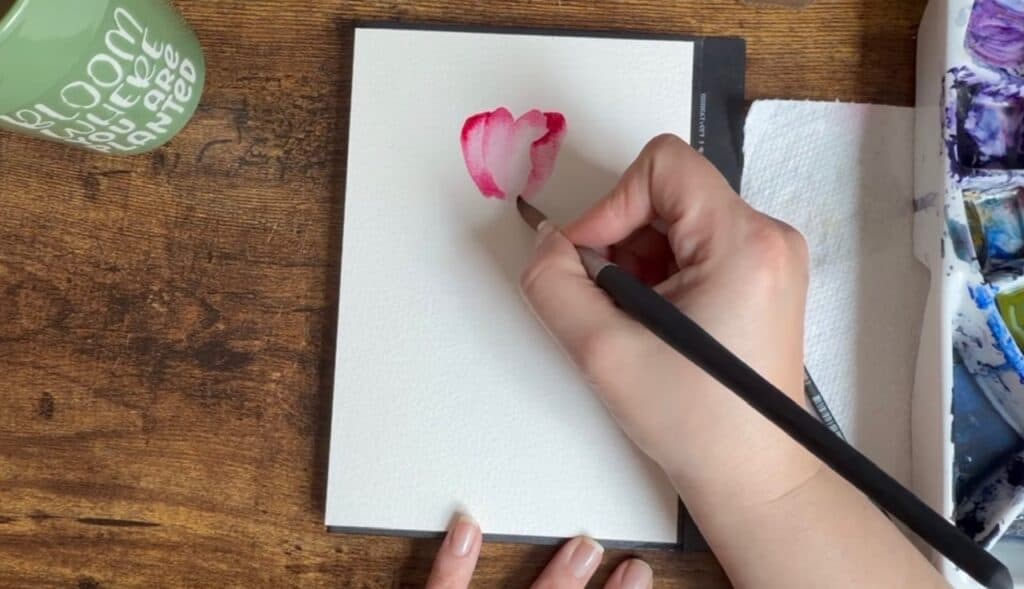
Tulip Technique #1: Soft “Pull-Down” Petals
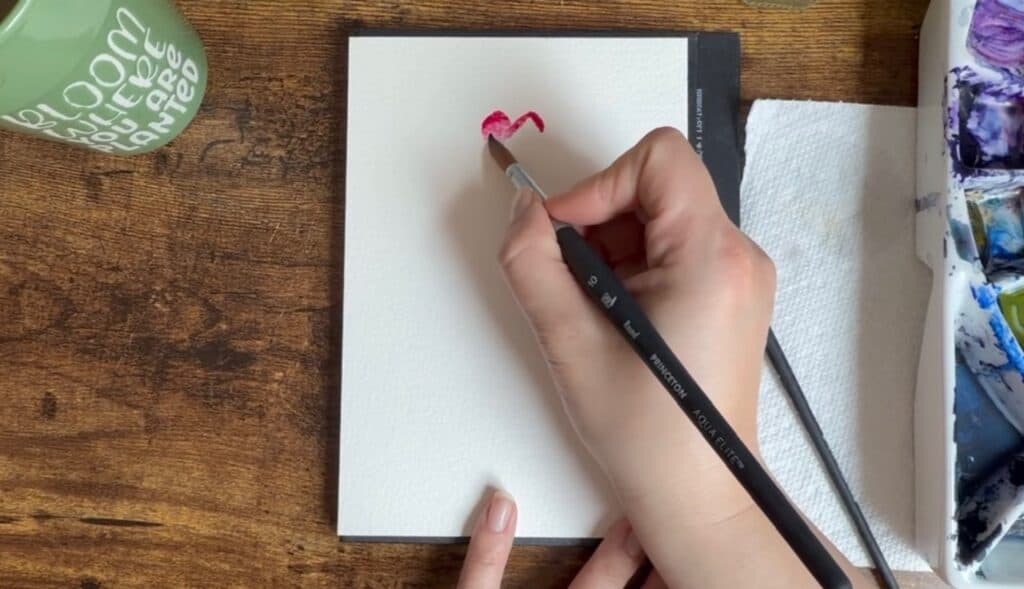
Start with your size 10 round brush and Quinacridone Rose.
- Paint a slightly jagged line at the top (almost like tiny mountains).
- Rinse your brush and use clean water.
- Pull the pigment downward.
You’ll notice the color naturally fades as it moves down the page, this is called a soft gradient wash.
At first, it may look like a little heart shape. That’s totally normal (and kind of adorable). Don’t worry… it will evolve.
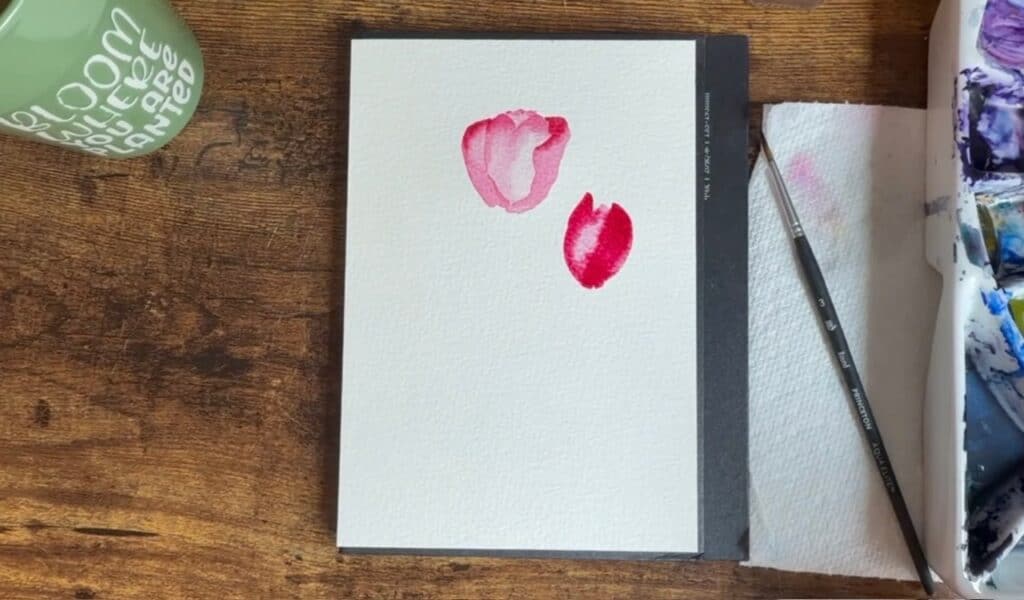
Once it dries:
- Add curved side petals
- Let petals overlap slightly
- Use darker pigment at the top for depth
Watercolor tip: Flowers in nature are imperfect. Yours should be too.
Tulip Technique #2: Simple Loose Petal Shapes
Now let’s try a different style.
Using Quinacridone Rose again:
- Paint one rounded petal shape
- Add a second next to it
- Add a third slightly overlapping
Leave a bit of light space in the center so the petals don’t blend into one mass.
This method is perfect for:
- Quick floral sketches
- Loose watercolor practice
- Beginner-friendly floral layouts
Think of it like assembling a flower instead of drawing one.
Tulip Technique #3: Layered Tulip with Definition

This version is similar to the first, but we’ll add more structure.
- Start with pigment at the top
- Pull color downward with a wet brush
- Repeat for a second petal beside it
Let it dry completely.
Then:
- Add a background petal behind the main shape
- Use your smaller size 3 brush
- Add a thin defining line between petals
This creates separation and depth so your tulip doesn’t feel flat.
Painting Tulip Stems & Leaves
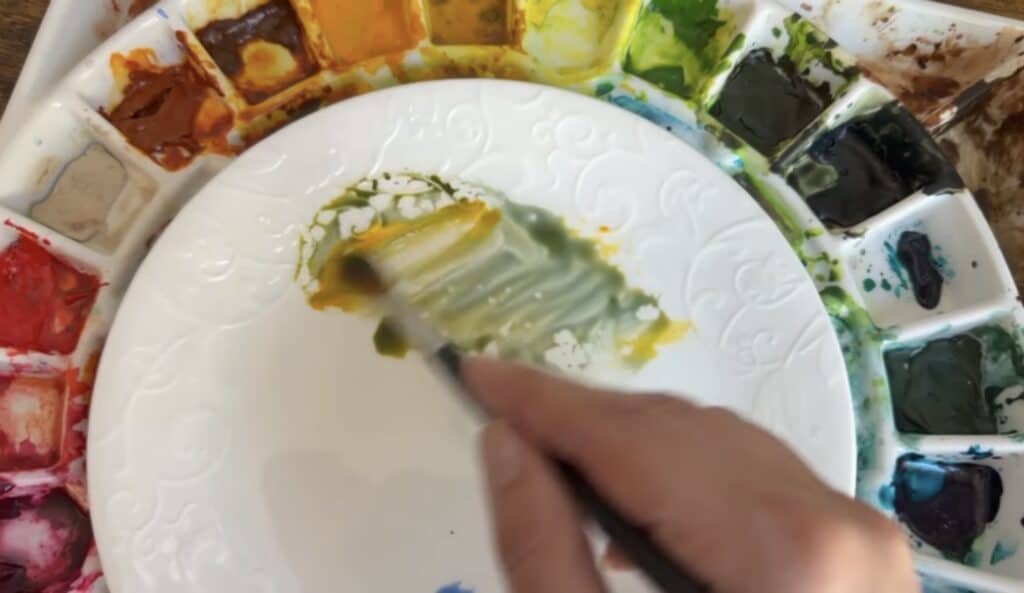
Using your green mixture (blue + yellow):
Stems:
- Light, simple lines connecting flowers
Leaves:
- Start with the tip of your brush
- Press down for a wide stroke
- Lift as you finish for a natural taper
A helpful watercolor rule:
- More water = lighter color (background)
- Less water = richer color (foreground)
So if you want a leaf to look closer, make it slightly darker. If it’s further away, keep it lighter.

Adding a Title (Optional but Fun)
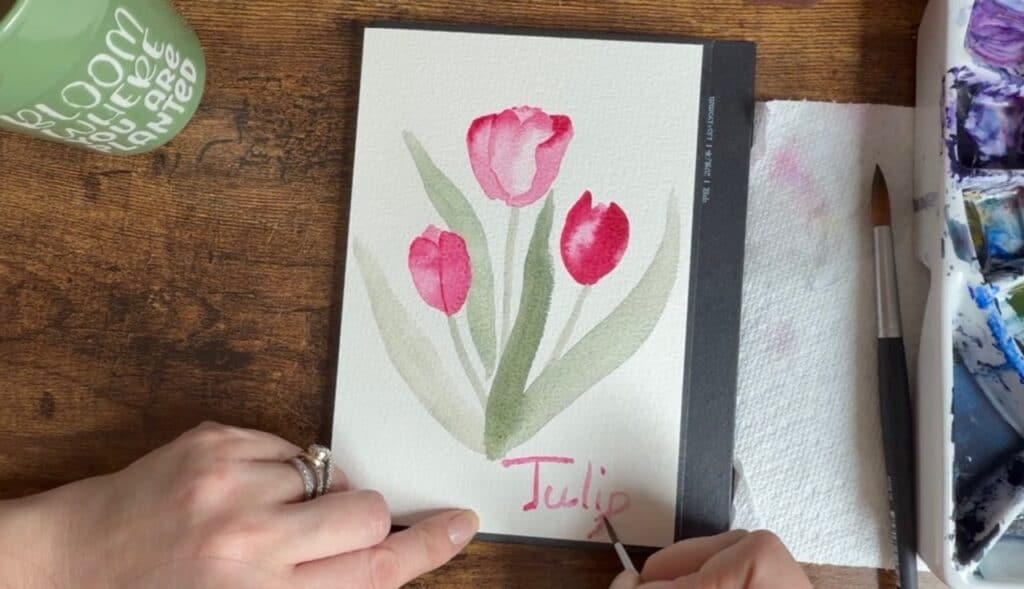
Use Quinacridone Rose and your small brush to write:
“Tulip”
You can use print, cursive, or even your own style. It doesn’t have to be perfect, actually, it shouldn’t be.
Watercolor lettering has personality built right in.
Final Thoughts: You Did It
You just created three different tulip styles using only a few colors and simple techniques.
And here’s the truth:
It doesn’t need to look perfect to be beautiful.
Watercolor is unpredictable, loose, and alive, which means every painting is a collaboration between you and the paint.
So if it looked a little strange in places… congratulations. That’s exactly how watercolor behaves.
And that means you’re doing it right.
💛 From One “Reluctant Artist” to Another
If you made it through this tutorial, you already proved something important… you can create art.
I’d love to see what you made. Tag me on Instagram so I can cheer you on.
And remember:
Bad art is just brave art in progress.
If you take anything from this, let it be this: you are allowed to make art even if it looks nothing like you imagined. My heart is to help reluctant artists discover that creativity isn’t about talent, it’s about willingness. I really do believe everyone has artistic potential. And even if it doesn’t feel natural at first, the simple act of painting can be calming, freeing, and honestly a little therapeutic. So just show up, make a mark, and see what happens.
You are already an artist here. ✨ Raeanna
Feel free to check out the tutorial on YouTube. I am a visual learner, and it definitely helps when I see what the instructions are talking about. It may help you too!
More Reluctant Artist Tutorials
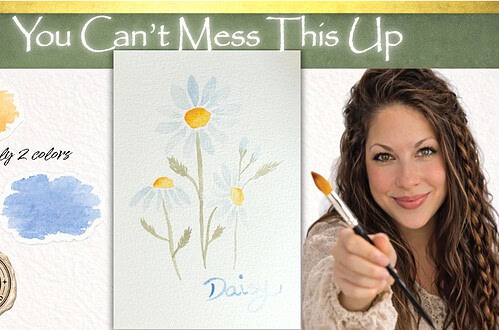
Easy Watercolor Daisy Painting Tutorial For Beginners
Watercolor Subjects Covered
Watercolor Subjects Covered
- watercolor tulip tutorial
- beginner watercolor flowers
- easy watercolor painting for beginners
- loose watercolor florals
- tulip painting tutorial
- watercolor for beginners step by step
- reluctant artist watercolor tutorial
- simple floral watercolor painting
Raeanna
Raeanna loves her home AT FORESTS EDGE. Cultivating life with a big family in America. She is a Watercolor Artist, Writer, Gardener & a Certified Herbalist.