Easy Watercolor Daisy Tutorial for Beginners (Simple 2-Color Painting)

Beginner Watercolor Daisy Tutorial (Loose Floral Painting)
If you’ve ever thought, “I’m not artistic,” this watercolor tutorial is for you.
In this simple step-by-step lesson, we’ll paint loose watercolor daisies using just two colors. No pressure. No perfection. Just gentle brushstrokes, water, and creativity unfolding as you go.
This is a beginner watercolor flower tutorial designed to help you relax, experiment, and discover that you really can paint.
Table of Contents
What You’ll Learn
- How to paint loose watercolor flowers
- How to use wet-on-dry and wet-on-wet techniques
- How to mix natural greens using only two colors
- How to create soft floral shapes without drawing outlines
- How to let go of perfection and enjoy watercolor painting
🎥 Watch the Full Tutorial on YouTube

Supplies for This Easy Watercolor Flower Painting
You only need a few simple materials:
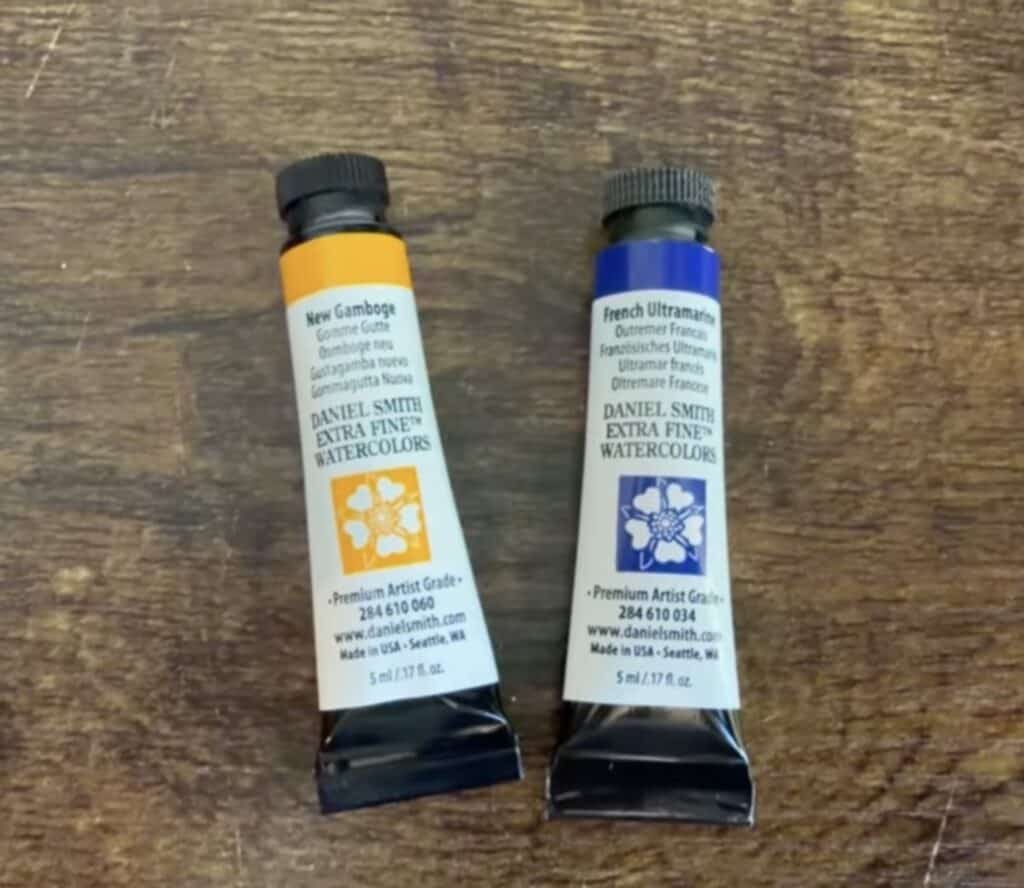
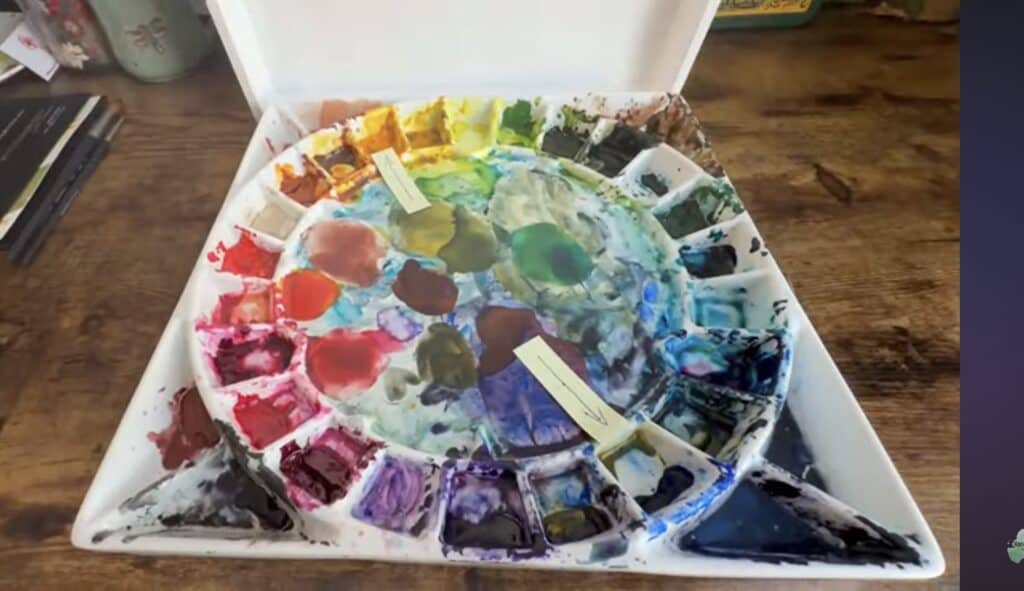
- Watercolor paints
- New Gamboge (warm yellow)
- French Ultramarine (warm blue)
(or any warm yellow + warm blue… yes blue can be warm but we will talk about color theory another time!) - I am using Daniel Smith Extra Fine Watercolors, if you are a beginner MeiLiang is a great student set option! Use what you have!
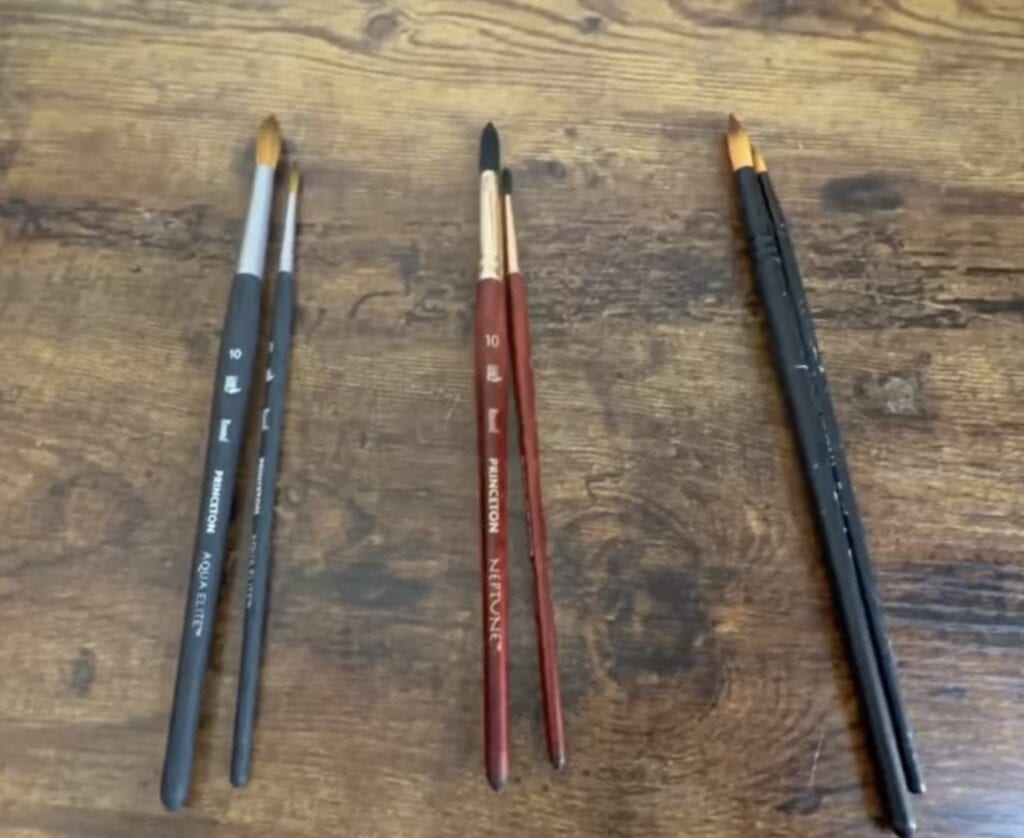
- Brush
- Round watercolor brush (size 3 or similar)
- I am using Princeton Aqua Elite but any round brush will work!
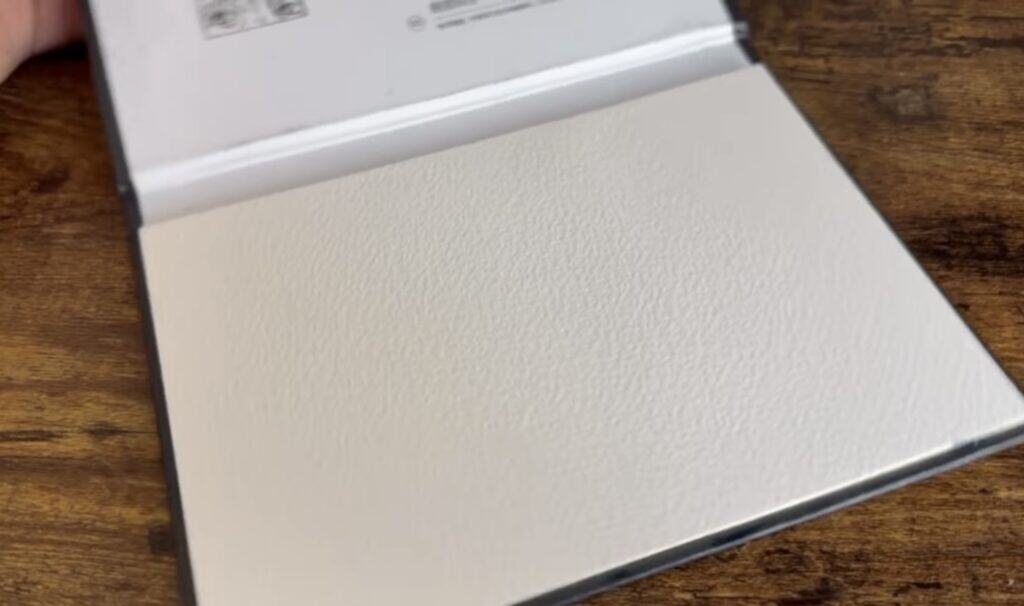
- Paper
- 100% cotton watercolor paper (highly recommended)
- Watercolor block works best for beginners
- I am using Paul Rubens watercolor block 5×7 ish. It is a great practice paper and 100% cotton!
- Water jar + paper towel
💡 Tip: Cotton paper makes a huge difference in how watercolor flows and blends.
✨ Use what you have. Expensive supplies are NOT required to start.
Supplies (Amazon Links)
(Some links are affiliate links: see note below)(Nothing is Sponsored, just what I personally use and love)
• Watercolor Paints: Daniel Smith Professional Watercolors https://amzn.to/4lASfPl
• Paper: Arches Natural White 100% Cotton Cold Pressed https://amzn.to/3Phgqq7
• Brushes: Princeton Aqua Elite https://amzn.to/4cZi4Xn
• Brushes: Princeton Neptune https://amzn.to/4bgEd23
• Watercolor Paints: MeiLiang Pretty Excellent Watercolors https://amzn.to/4btAr4a
• Paper: Paul Rubens Natural White 100% Cotton Cold Pressed https://amzn.to/4sWyF2O
• Brushes: Windsor & Newton Cotman Round https://amzn.to/4lFRIvS
Some of the links above are Amazon affiliate links, which means I may earn a small commission if you purchase through them (at no extra cost to you).
Thank you for supporting my work and helping me continue to create free, encouraging art tutorials 🤍
Step 1: Painting Loose Yellow Flower Shapes
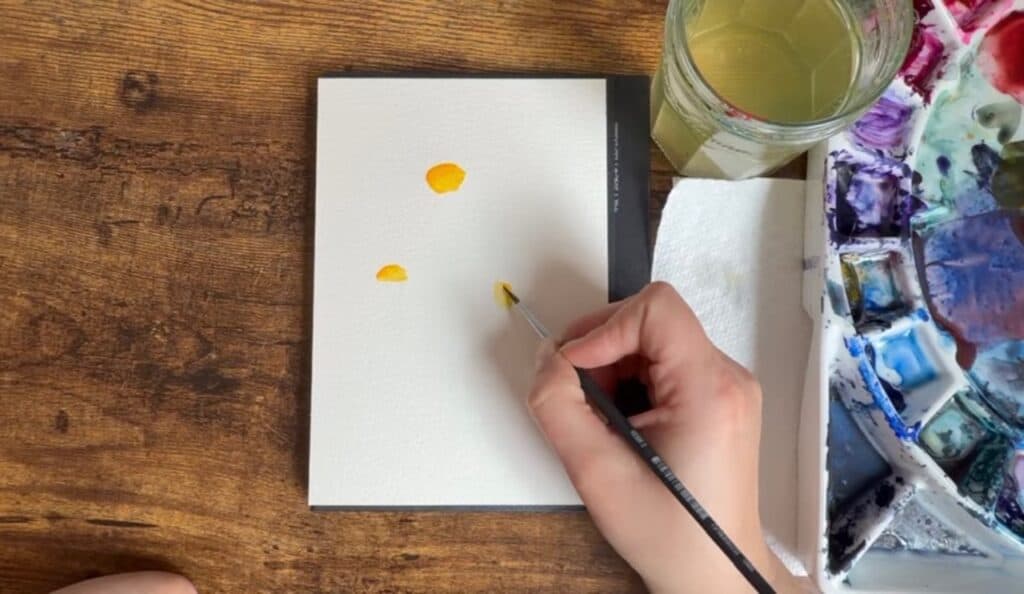
Start with your New Gamboge (yellow).
- Load your brush with pigment.
- Paint a soft curved line near the top of your page.
- While still wet, use a clean damp brush to gently pull the pigment downward.
- Let the paint naturally spread into a loose circular shape.
Repeat this in different directions:
- One full bloom shape
- One half-circle shape
- One angled shape
💡 These variations help create a natural, meadow-like feel in your watercolor floral painting.
Step 2: Adding Blue Petals (French Ultramarine)
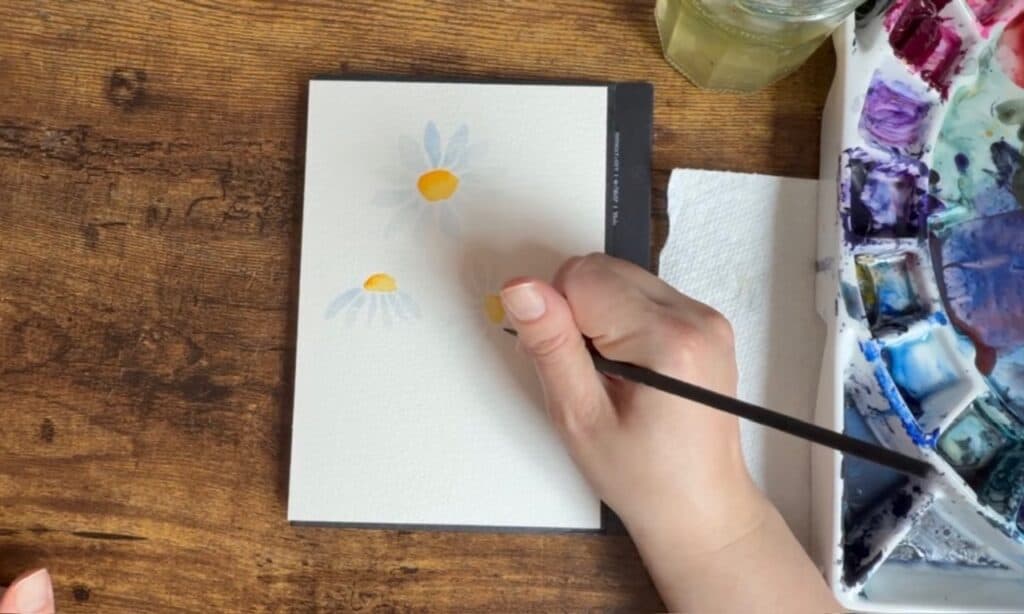
Now switch to French Ultramarine blue.
- Mix a very watery blue (light consistency like tea).
- Touch your brush down and gently press to form petal shapes.
- Build petals around your yellow areas.
You can:
- Vary petal sizes
- Change direction slightly
- Overlap lightly for depth
✨ In nature, petals are never identical, your painting shouldn’t be either.
Step 3: Let Watercolor Flow Naturally
This is where watercolor magic happens.
Let your paint:
- Bleed
- Soften edges
- Move unpredictably
If something looks “messy,” simply call it texture.
💡 Loose watercolor painting is about flow, not control.
Step 4: Building Depth with Direction
To make your flowers feel alive:
- Let some face upward
- Let others tilt sideways
- Let petals point in different directions
Add slightly stronger blue near some edges for soft shadowing.
This creates a more natural loose floral, watercolor effect.
Step 5: Optional Glazing Technique (Beginner Friendly)
Once dry:
- Mix a slightly stronger blue
- Add thin lines over petals
- Focus near centers or edges
This technique is called glazing in watercolor painting.
It adds:
- Soft texture
- Gentle shadow lines
- Subtle depth
Step 6: Mixing Green with Just Two Colors
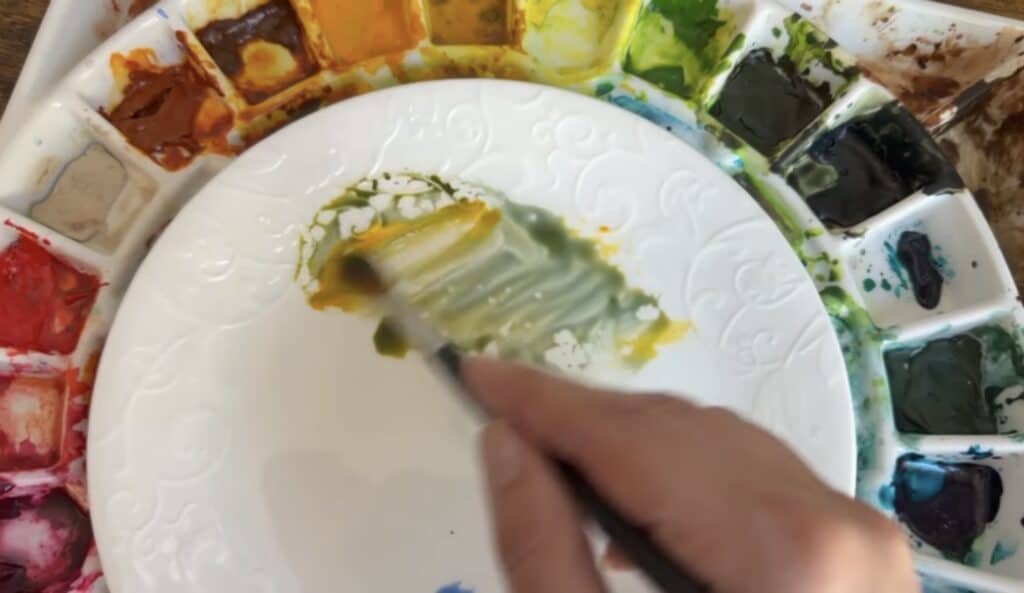
Now for stems and leaves.
Mix:
- French Ultramarine (blue) + New Gamboge (yellow)
This creates a natural green without needing extra paints.
💡 The more yellow = warmer green
💡 The more blue = cooler green
Step 7: Painting Stems, Leaves & Buds
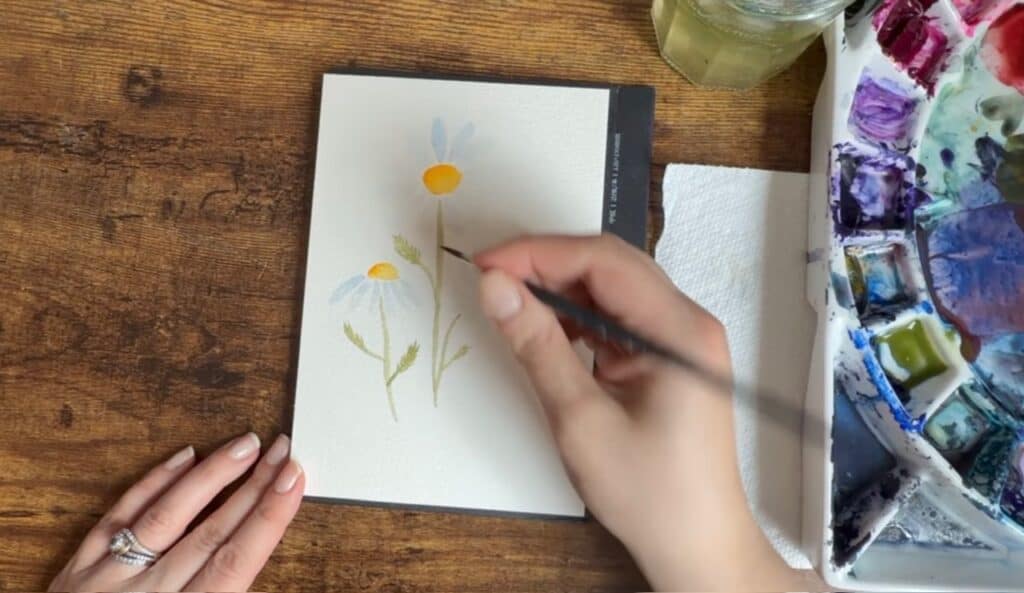
Using your green mix:
- Paint loose, flowing stems
- Add feathery, sketch-like leaves
- Keep edges imperfect and organic
- Add small bud shapes using simple V-strokes
Don’t overthink it—this is loose watercolor sketching style.
Step 8: Soft Bud Effects
For flower buds:
- Wet the area lightly
- Drop in diluted blue
- Let it bloom naturally
Add more pigment if needed for contrast.
Step 9: Add a Simple Title (Optional)
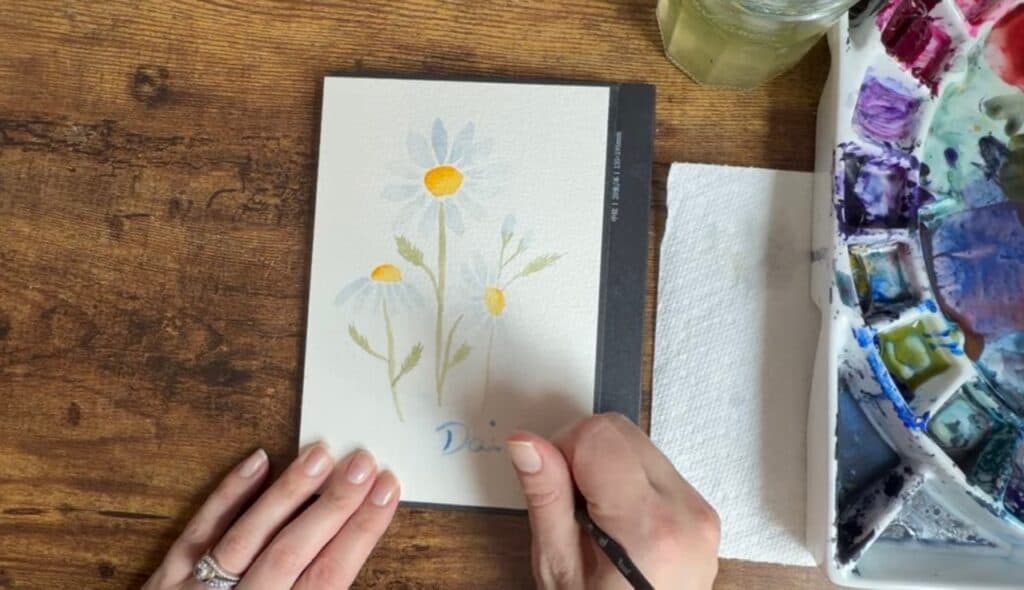
You can write “daisy” at the bottom using your brush.
This adds a personal, artistic finishing touch and introduces beginners to brush lettering in watercolor.
Beginner Watercolor Tips (Important!)
- There is no “wrong” outcome
- Imperfection creates texture
- Watercolor is meant to flow unpredictably
- Practice matters more than perfection
- Every painting teaches you something
💛 If your painting looks different than expected then you’re doing it right.
Final Thoughts
If you’ve made it this far, you’ve already done something important:
You created.
Not perfectly. Not neatly. But honestly and that’s where art begins.
You are not copying. You are learning to see and respond to watercolor.
And that is what makes an artist.
If you take anything from this, let it be this: you are allowed to make art even if it looks nothing like you imagined. My heart is to help reluctant artists discover that creativity isn’t about talent, it’s about willingness. I really do believe everyone has artistic potential. And even if it doesn’t feel natural at first, the simple act of painting can be calming, freeing, and honestly a little therapeutic. So just show up, make a mark, and see what happens.
You are already an artist here. ✨ Raeanna
Feel free to check out the tutorial on YouTube. I am a visual learner, and it definitely helps when I see what the instructions are talking about. It may help you too!
More Reluctant Artist Watercolor Tutorials
3 Ways to Paint Watercolor Tulips for Beginners
Watercolor Tutorial Subjects Covered
- easy watercolor daisy tutorial
- beginner watercolor flowers
- loose watercolor floral painting
- simple watercolor painting for beginners
- watercolor flowers step by step
- 2 color watercolor painting
- beginner watercolor tutorial easy flowers
Raeanna
Raeanna loves her home AT FORESTS EDGE. Cultivating life with a big family in America. She is a Watercolor Artist, Writer, Gardener & a Certified Herbalist.