Mastering Watercolor Techniques: Deep Dive

Table of Contents
I independently review every product I recommend. When you make a purchase through a link, I may earn a small commission at no additional cost to you. Learn more
Watercolor Technique Deep Dive
Watercolor painting is a captivating art form that can transport you to a world of endless creativity. In this comprehensive guide, we’ll explore the techniques that bring watercolor to life, from the delicate washes that set the stage to intricate details that capture the imagination. This journey is about mastering the art of painting with water and pigments.
The Foundation – Basic Watercolor Techniques
1. The Watercolor Wash: Creating Tranquil Backgrounds
Begin your watercolor journey with the art of the watercolor wash. This technique allows you to create tranquil backgrounds, setting the mood for your artwork. Learn how to control the water-to-pigment ratio to achieve various levels of intensity and transparency in your washes.
The more water you use the less saturated the pigment becomes. The less water you use the more saturated the pigment becomes. The best analogy for watercolor consistency is the tea to butter method.
The Tea to Butter method was introduced by Joseph Zbukvic in his book, Mastering Atmosphere and Mood in Watercolor.

There are five main consistencies in the Tea to Butter method: tea, coffee, milk, heavy cream, and butter. Take time to explore each consistency so you can get comfortable working with watercolor.
I suggest using one color that has the ability to get pretty dark so you can see the dramatic difference water plays in watercolor.
2. Glazing: Building Depth and Layers
Glazing is a technique that involves applying multiple transparent layers of paint to build depth and luminosity. Practice painting over dried paint to see how the color shifts. You can use this method to create vibrant colors and subtle transitions in your watercolor paintings.
3. Wet-on-Wet Magic: Effortless Color Blending
Wet-on-wet painting is like a dance of colors on your paper. It involves applying paint to a wet surface, resulting in beautiful, seamless color blending. Practice wetting your paper and experiment adding colors to create ethereal and spontaneous effects using this technique.
Precision and Detail – Advanced Watercolor Techniques
1. Dry Brush Technique: Adding Texture and Detail
The dry brush technique allows you to add texture and detail to your watercolor paintings. To master this technique use a nearly dry brush to create intricate lines, fine textures, and captivating details in your artwork.
It’s very similar to the way we were taught to use watercolors in elementary school art class. Wet your brush enough to pick up color and apply the paint directly on the paper.
2. Lifting: Correcting and Enhancing
Mistakes happen, and lifting is your solution. This technique involves removing paint from your paper to correct errors or create highlights. There are various methods of lifting, from blotting with a paper towel to scrubbing with your brush and using a damp clean brush to lift the pigment back up.
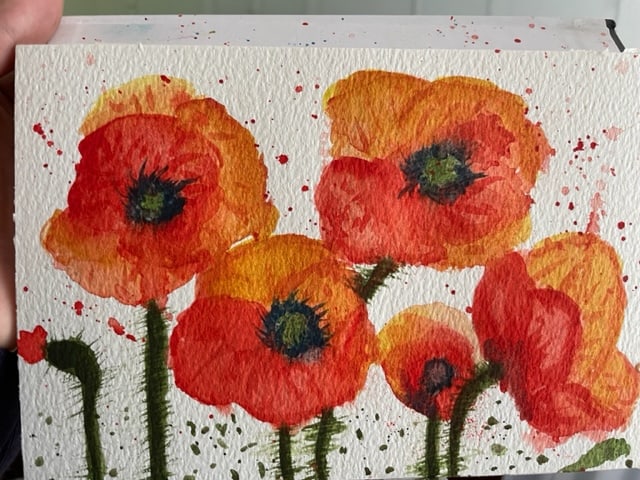
3. Splattering: Adding Whimsy and Textural Elements
Embrace the playful side of watercolor with the splattering technique. Create whimsical and textural elements in your artwork by flicking, tapping, or blowing paint onto your paper. Practice splattering with different size brushes and intensities to learn how to control the size and intensity of splatters for various effects.
Special Effects – Unleash Your Creativity
1. Salt and Alcohol: Texture and Surprises
Salt and alcohol are magical ingredients in watercolor. You can use these substances to create textures and unique effects in your paintings. Experiment with different types of salt and the application of alcohol to achieve stunning results. From adding it to wet paint on your paper to mixing it in with your water cup. Each of these techniques creates a unique outcome.
2. Masking: Preserving White and Creating Sharp Edges
Masking is your ally for preserving areas of white paper and creating sharp edges in your artwork. When I became aware of the world of masking fluid and tape, oh how my compositions glowed. Masking fluid is great for preserving white areas where you want light to shine through. While tape can make a border for an interesting edge effect.
The Final Touch – Finishing and Detailing

1. Scumbling: Softening Edges and Creating Transitions
Scumbling is a technique that softens edges and creates gentle transitions in your paintings. Keep a clean, damp, almost dry brush handy to achieve this effect, adding subtlety and dimension to your artwork. Gently touch the clean brush to the edge of the wet paint that you would like to soften the edge. It doesn’t take much to achieve a softened look.
2. Sgraffito: Revealing the Underlayers
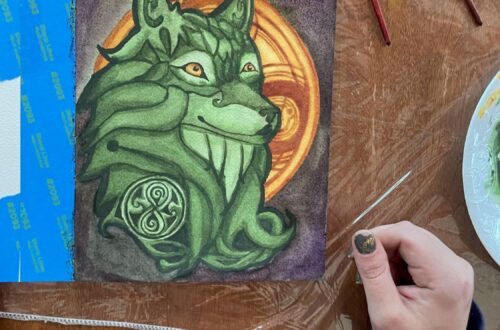
Sgraffito is like a hidden treasure waiting to be revealed. This technique involves scratching the surface of your painting to expose the layers beneath. Try out various tools for sgraffito, from brush ends to palette knives, to add intrigue and depth to your artwork. I have used the edge of a plastic card or a key to scratch through the layers. It’s great for creating texture in clothing or creating dimension in the grass.
I used to do this as a child in my coloring books all the time. Instead of coloring in the lines, I would mix my crayon colors on the insides of the covers and scratch them off to see what kind of designs I could make.
Your Watercolor Techniques Odyssey Has Only Begun
Mastering watercolor techniques is a rewarding journey into the world of artistic expression. It’s a path that invites you to explore, experiment, and discover the endless possibilities of water and pigments. As you become proficient in these techniques, you’ll find that your artistic voice can flow freely through the captivating medium of watercolor.
Watercolor 101: A Splashy Start is great place to start if you want to learn the BASICS of WATERCOLOR PAINTING! Set up your own Watercolor Palette like an Artist! Or Exploring Dynamic Water Color Paint: Which Brand to Choose? And Unraveling Watercolor Paper: A Beginner Guide
Or create your own Watercolor Journal using the Coptic Binding Method!
I truly hope that this has been a helpful resource for learning watercolor techniques that inspire you to dive into the world of watercolor. I would love to know how your art is coming along now that you are practicing these techniques!
I’d love for you to be my companion in this journey, join my newsletter, and let’s walk this journey together as we GROW HOPE!
Until we meet again,
Raeanna
Raeanna
Raeanna loves her home AT FORESTS EDGE. Cultivating life with a big family in America. She is a Watercolor Artist, Writer, Gardener & a Certified Herbalist.