How to Coptic Bind a Watercolor Journal

I independently review every product I recommend. When you make a purchase through a link, I may earn a small commission at no additional cost to you. Learn more
Bound for Artistry: Creating a Watercolor Journal from a Pad
Creating your own watercolor journal or sketchbook with Coptic binding is like crafting a masterpiece that you can fill with your artistic expressions.
I love creating watercolor journals or Coptic-bound books for painting, sketching, inspirational quotes, or a diary!
Coptic book binding also called a chain stitch creates a book that lays flat when open making it perfect for artists. When a watercolor sketchbook lays flat you don’t have to worry about the pages closing on your wet painting or paint rolling in an undesired direction.
I have made watercolor journals for swatching my paints to keep a record of each pigment. I have also used my watercolor sketchbooks for experimenting with color mixing so I can recall which paint combinations to use later on.
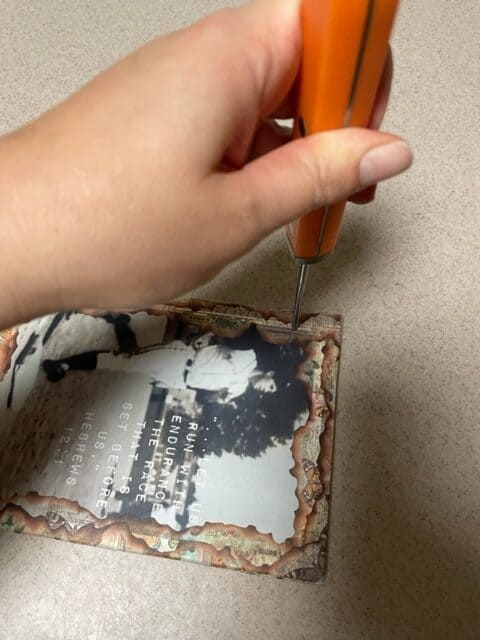
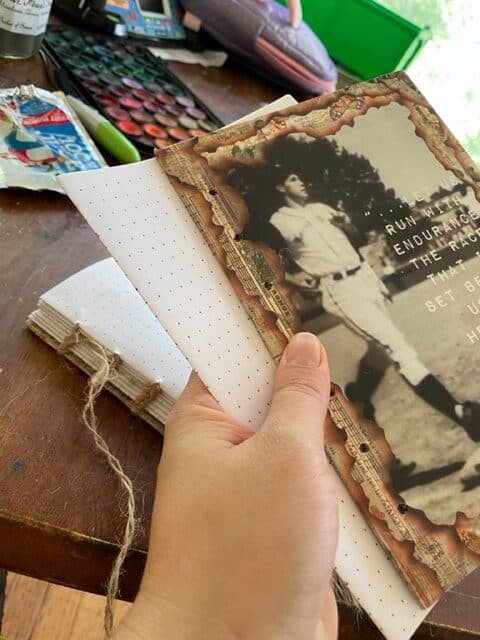
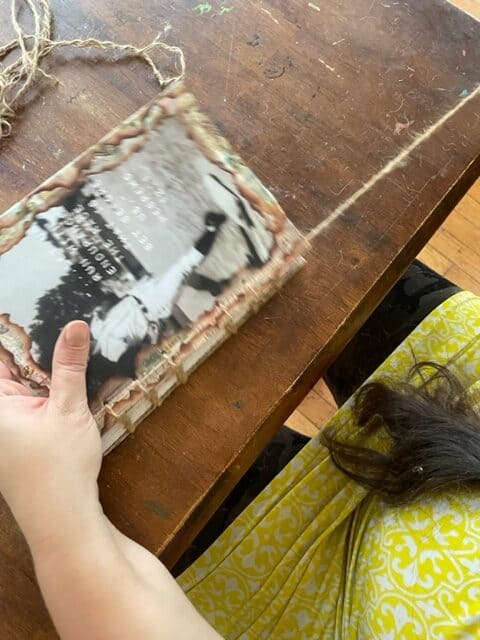
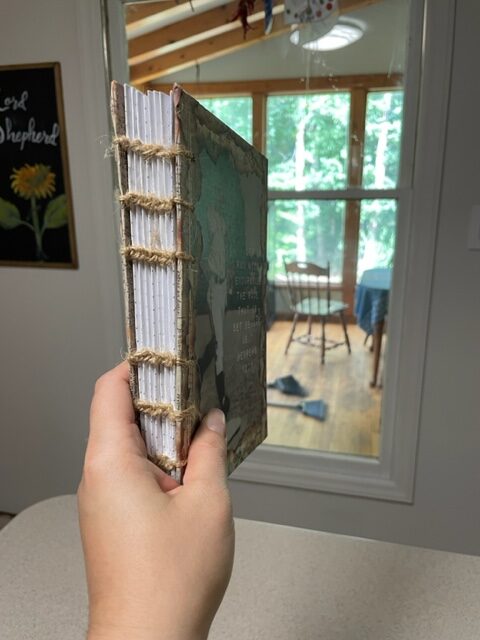
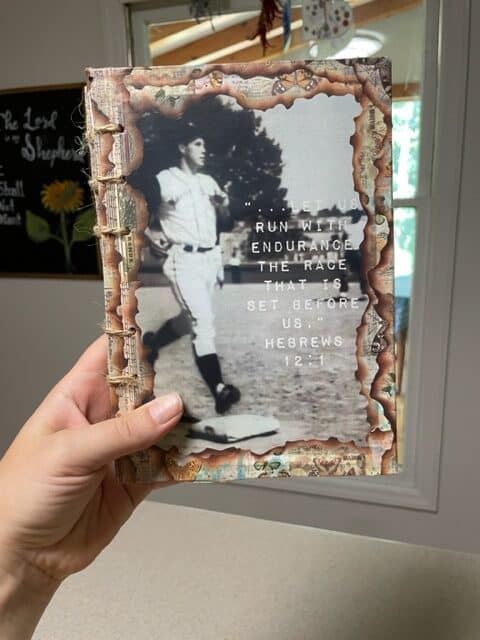
My favorite Coptic Bound Journal I have made was one crafted with simple dotted paper for my cousin. I wanted her to have something special as she embarked on a new season in her life. The front cover has a picture of our grandpa to encourage her to keep running the race set before her. This is the Coptic bound journal in the example pictures.
For whatever reason you want to create a Coptic bound book, I’m here to guide you through this process step-by-step, so let’s embark on this creative journey together!
I have made my watercolor journal out of a watercolor pad. I suggest you do the same because it will not only provide the paper but also the covers.
Materials:
- Paper (to cut into folios)
- Cover boards
- Ruler
- Pencil
- Large Needle
- Twine, hemp cord or waxed thread
- Awl or small screwdriver
- Utility knife
- Scissors
Step-By-Step Instructions to Coptic Bind Your Watercolor Journal
Step 1: Craft Your Folios
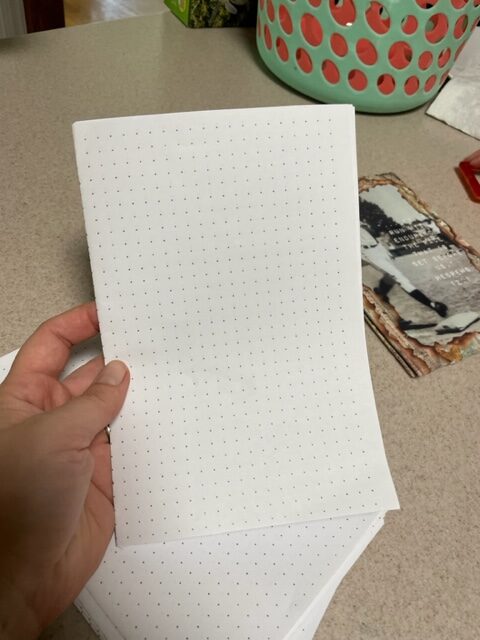
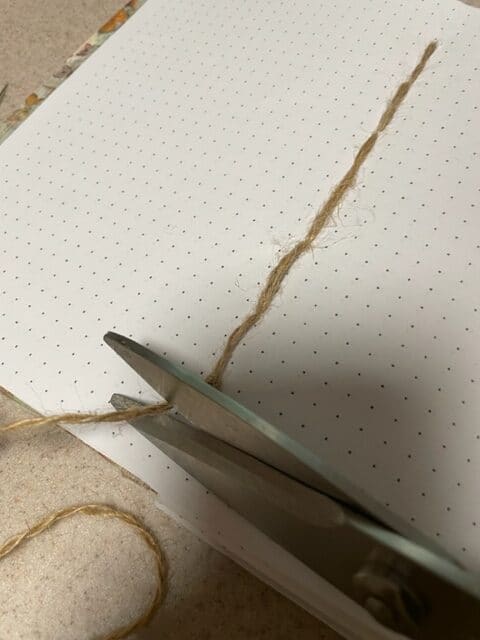
Start by taking your large pages and placing them on a flat work surface. Now, fold each page in half, making sure the edges align perfectly. These folded pages are what we call “folios.” For that crisp edge, use a bone folder or even the blunt edge of a knife.
Step 2: Assemble Your Signatures
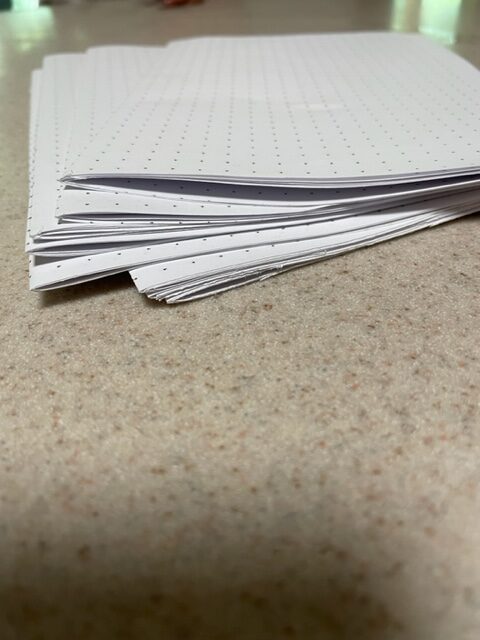
What’s a signature, you ask? Well, it’s simply a set of folios bundled together. Open up your folded folios and stack them one inside the other, creating sets of 3 for watercolor paper or 4 to 6 for standard paper.
Once that’s done, close each signature and run your trusty bone folder along the fold to make sure the exterior edge is nice and sharp.
Feel free to go wild and create as many signatures as your heart desires – each one corresponds to the final pages of your journal. For instance, a watercolor book with 10 signatures will have 120 interior pages. While a standard paper journal could have up to 240 pages with the same 10 signatures.
If you’re new to Coptic binding, start with a few signatures and work your way up to thicker books as you get the hang of it. You can make a book with as many signatures as you like, just remember the book will get thicker with each signature you add.
Step 3: Prepare Your Cover
Now, let’s get your backing board ready. These boards will serve as the covers for your artistic journal, so handle them with care. Take a sturdy paper board, the backing of your watercolor pad works perfectly.
Cut it into two equal pieces, and make sure they’re large enough to cover the exterior of your folios. You can achieve clean cuts by using a metal or plastic ruler and running a utility knife along the edge for a smooth finish.
Step 4: Mark the Signatures
With your signatures stacked evenly, apply a bit of pressure to ensure they’re aligned on all sides. Then, grab a metal ruler and make pencil marks. Starting 1 cm from the top and bottom, create a series of marks separated by 1 inch (2.54 cm) at each end. I usually make 3 marks on top and 3 marks toward the bottom with a space of 2 inches left to the middle, but you can make it all the way down the spine if you like.
Place the ruler against the spine and draw lines over each mark where the holes will be on the spine ends of the signatures. These marks guide where your thread will enter and exit the spine of your signatures. Remember, you can choose the number and spacing of holes, but fewer holes result in looser interior pages, while too many can make your journal stiff.
Step 5: Prepare the Cover Boards
Place the top signature from your stack on one of your cover boards, with the board’s exterior facing down to protect it from markings. Align the signature with the board, leaving a bit of space at the spine edge.
Make a mark to line up where the holes will be with your signatures.
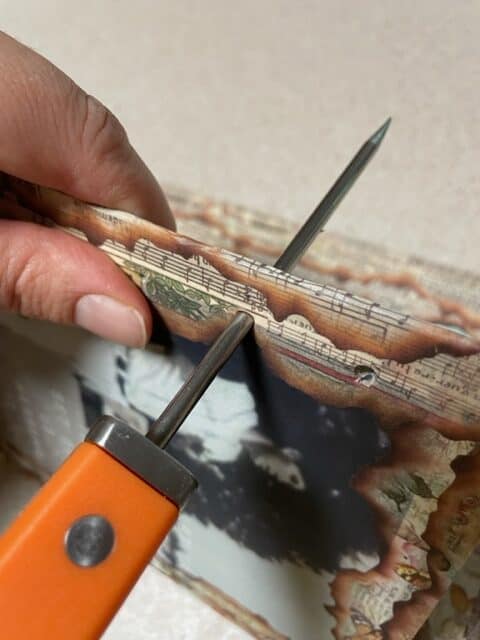
Using an awl or small screwdriver, create holes in the board next to the marks on the signature’s spine. In this example, you’ll end up with a total of six holes in each cover board. Make sure the holes are wide enough for your needle, but not too wide to let the thread slip.
Step 6: Complete the Second Cover
Place the cover you’ve punctured over the other one, positioning their interiors to face each other, like a book without pages. Push your awl or screwdriver through the holes of the first board and into the new one. Ensure the holes align correctly, and re-puncture or adjust if needed.
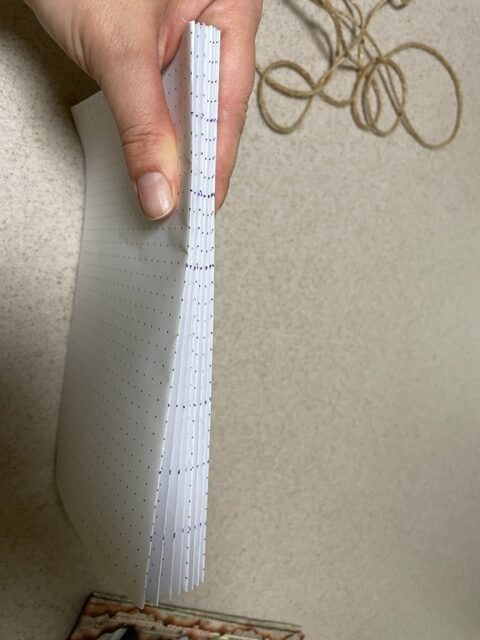
Step 7: Mark and Puncture the Signatures Again
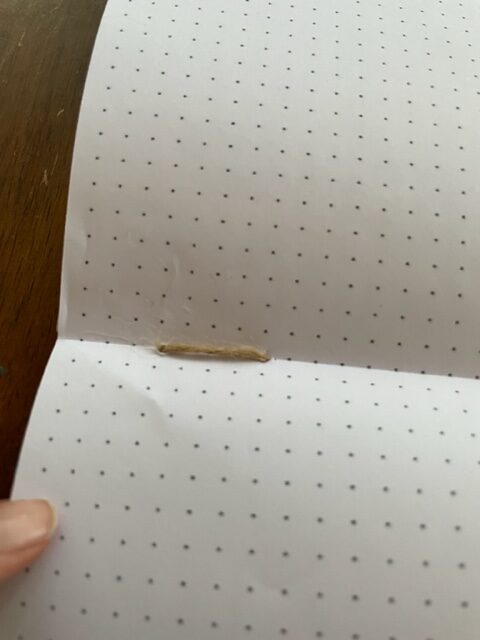
Take each signature, open it with the interior pages facing down on the table, and fold it along the outer spine crease. Create six holes along the spine according to the markings. Try to keep the holes right on the spine. Once all signatures are punctured, fold them closed and stack them.
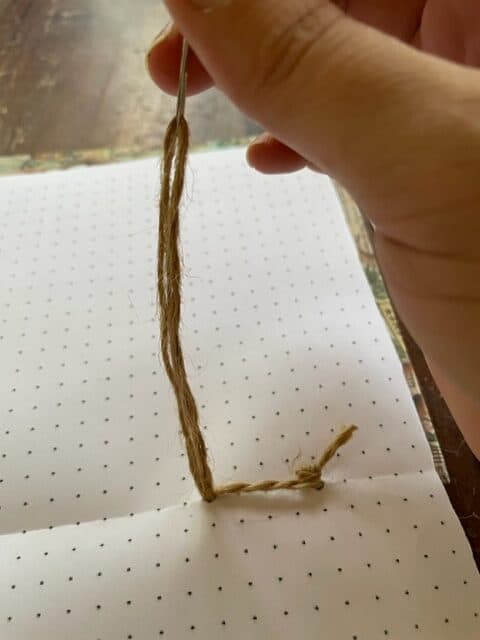
Step 8: Thread Your Needle and Start Binding
Hold your needle firmly and thread it with a long piece of your choice of thread. If you have a thin thread make sure you have two equal-length pieces and tie a knot at the end to unify them. This double-threaded needle is ready to start your binding adventure.
I like to use a thick twine so double threading is not necessary.
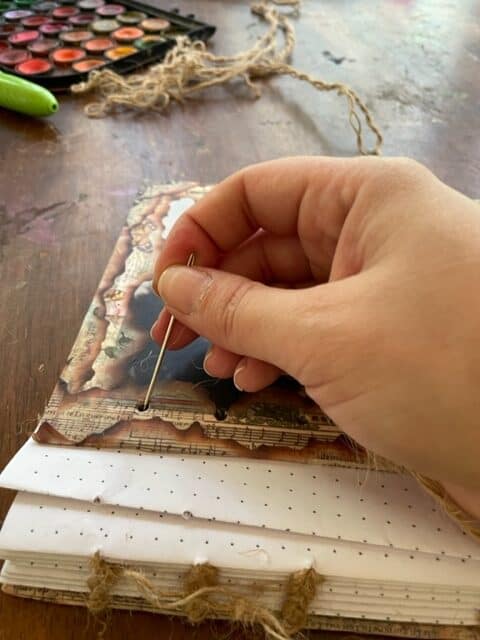
Step 9: Start Your First Stitch
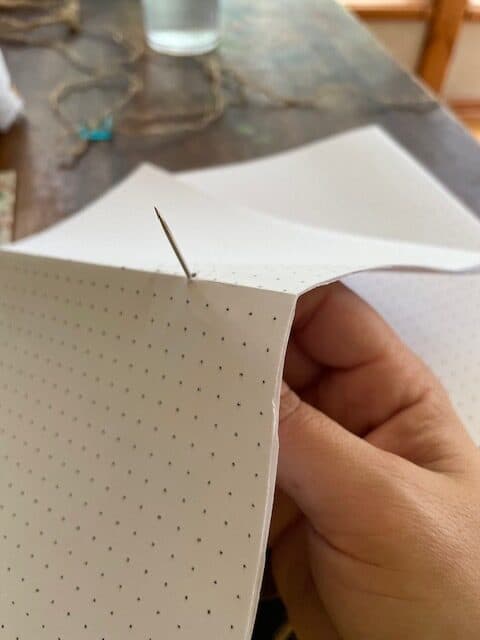

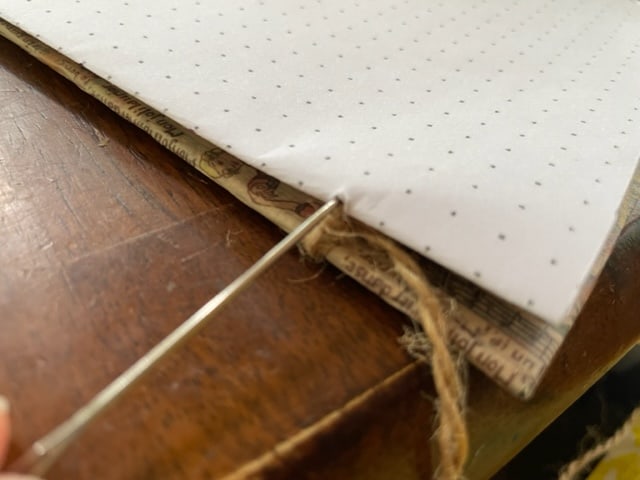
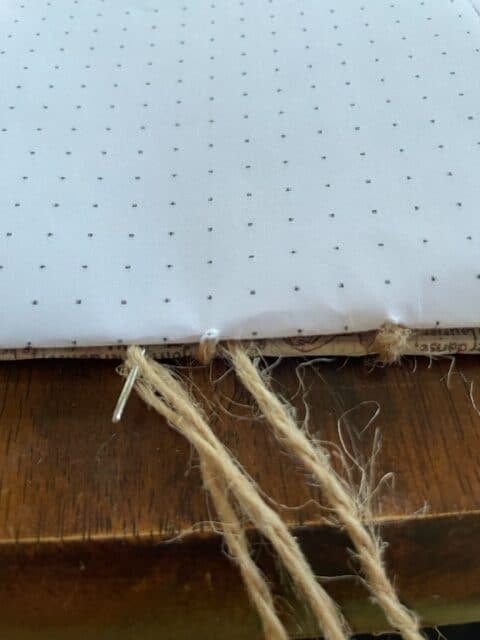
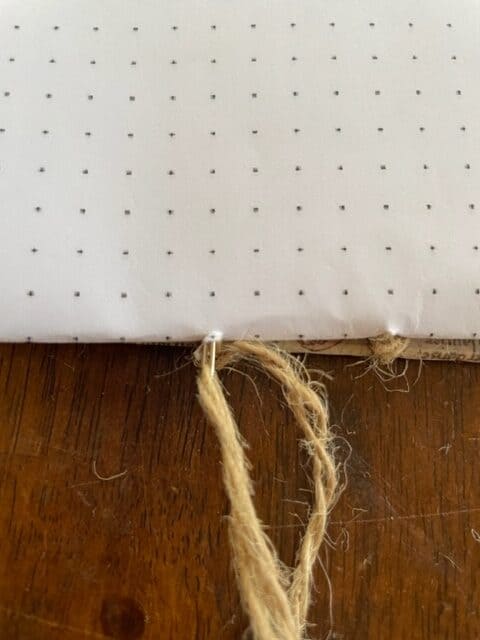
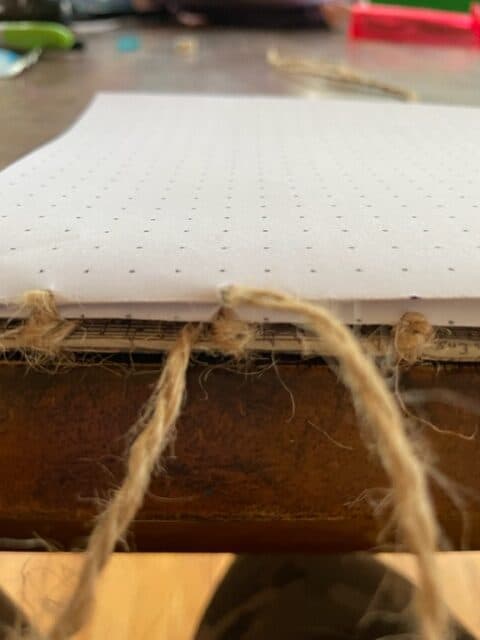
Lay the bottom cover down, place the open signature on top, and go to the lowest hole on the signature’s bottom (one inch from the edge). Pierce your needle through it, loop your thread over the outside of the cover’s spine, and come up through the lowest hole in the bottom cover. This completes your first stitch, holding the cover and signature together. Repeat this process, moving from hole to hole.
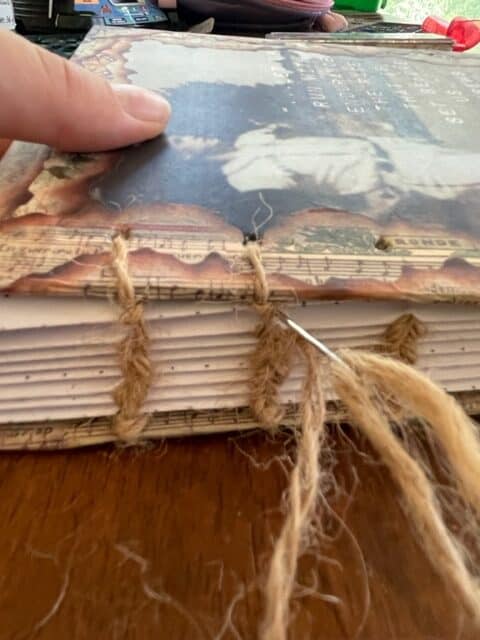
Step 10: Attach the Next Signature
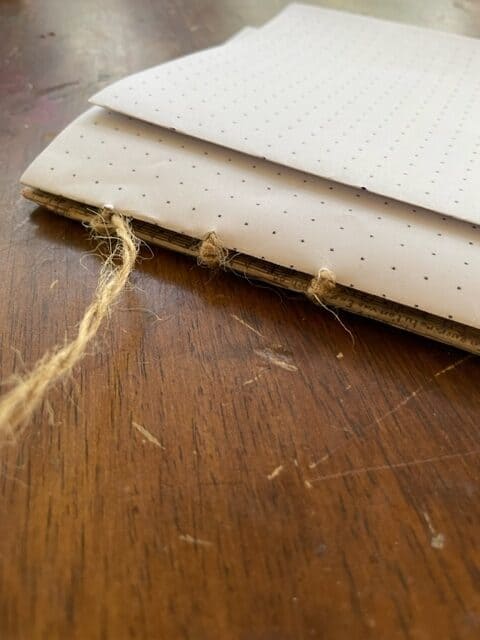
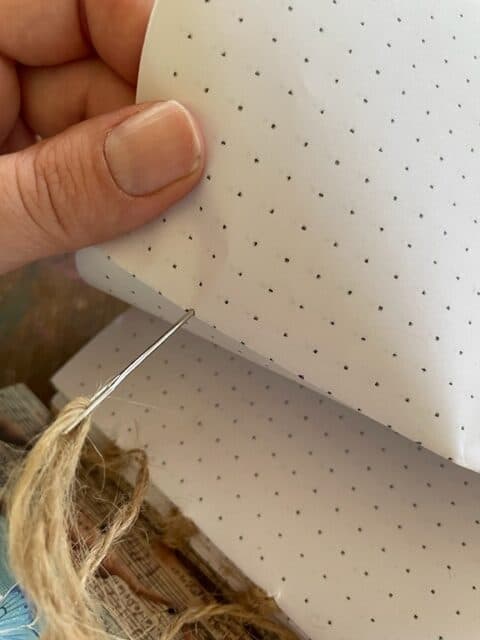
When you reach the last hole of the signature, lay the unattached signature on top of the attached one. After finishing the outer loop on the final hole, return the needle to the interior of the new signature to bind everything together.
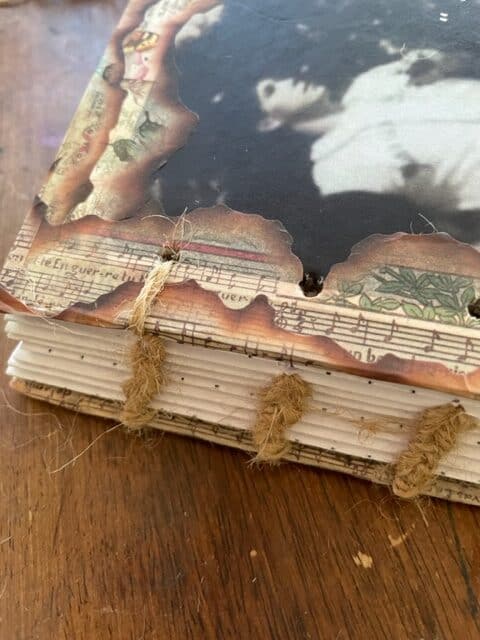
Step 11: Continue Adding Signatures
Repeat the stitching process for each new signature, always looping around the previous signature’s outer stitch before moving into the interior. This keeps everything nicely together.
Step 12: Rethread as Needed
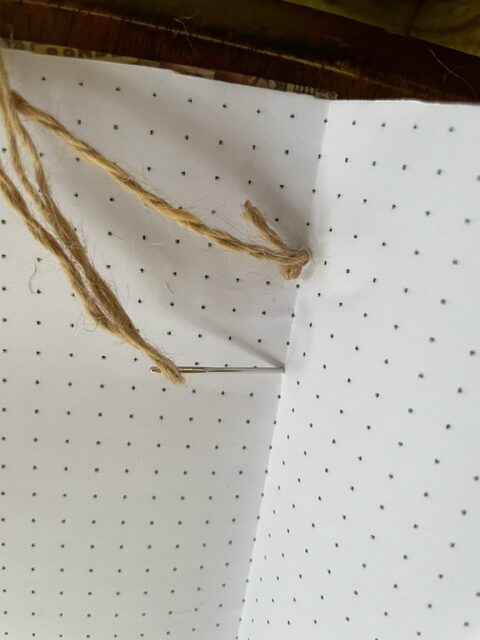
As you approach about six inches of thread left, stop and add more. Knot the end under one of the thread lines inside a signature cut the extra off, and attach a new thread to your needle. Continue to the next open signature hole in the interior.
Step 13: Attach the Front Cover to Complete the Watercolor Journal


When you reach the first hole of the last signature, it’s time to add the front cover. Align the holes, push the needle through the top exterior hole in the top cover, and bring the thread out between the cover and the last signature. Loop the needle around the last signature’s knot and pull it through. Continue this process to secure the rest of the cover to the final signature, tying off the thread by looping it under an existing thread and cutting off any excess.
Bound and Ready: Enjoy Your Watercolor Journal
Now, you’ve created a beautiful watercolor journal using the Coptic binding method, ready to be filled with your artistic adventures.
Get creative with the thread color to match your cover and make this journal truly your own.
You can decorate your covers however you like, with stickers or paper and glue. I enjoy using washi tape to make decorative borders.
Coptic Bound Watercolor Journal Printable Instructions
I truly hope that this has been a helpful resource that inspires you to dive into the world of watercolor. Creating a watercolor journal or sketchbook with the Coptic stitch can seem intimidating at first, but once you get the hang of it, you will see the effort is worth the beautiful book you now have!
I’d love for you to be my companion in this journey, join my newsletter, and let’s walk this journey together as we GROW HOPE!
Until we meet again,
Raeanna
Here are some helpful resources for your watercolor journey:
- Watercolor 101: A Splashy Start
- Mastering Watercolor Techniques: Deep Dive
- Exploring Dynamic Water Color Paint: Which Brand to Choose?
- How to Set Up a Watercolor Palette Like an Artist
- Unraveling Watercolor Paper: A Beginner Guide
Raeanna
Raeanna loves her home AT FORESTS EDGE. Cultivating life with a big family in America. She is a Watercolor Artist, Writer, Gardener & a Certified Herbalist.