Easy Watercolor Rose Tutorial (Loose & Messy for Beginners)

Roses don’t have to be complicated. In this beginner watercolor tutorial, I’ll show you how to paint a loose, messy rose — no sketching, no perfection, no pressure. This is for anyone who feels intimidated by painting or thinks they “can’t do art.” We’re letting go of perfect and learning to enjoy the process instead.

Table of Contents
Supplies You’ll Need
You don’t need expensive supplies to get started — use what you have! Here are the materials used in this tutorial:
Paints: You only need three colors:
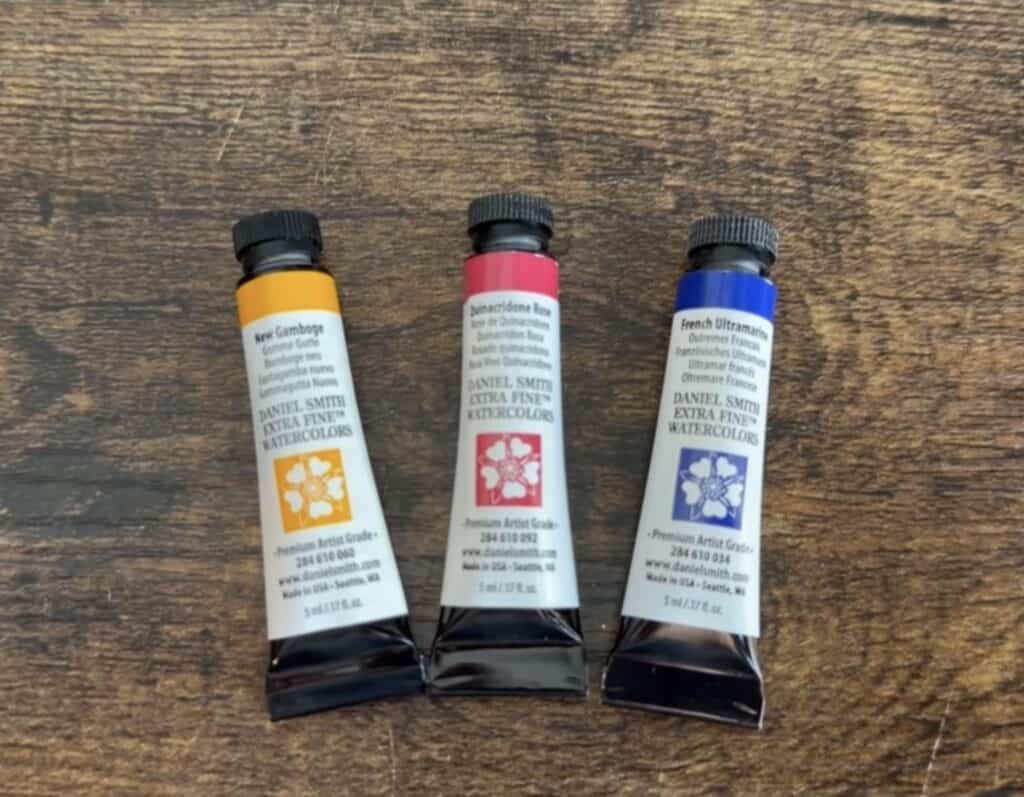
- A warm yellow (I use New Gamboge)
- A cool red (I use Quinacridone Rose)
- A warm blue (I use French Ultramarine)
Any brand works. It truly does not matter.
Brushes: Round brushes with a pointy tip:
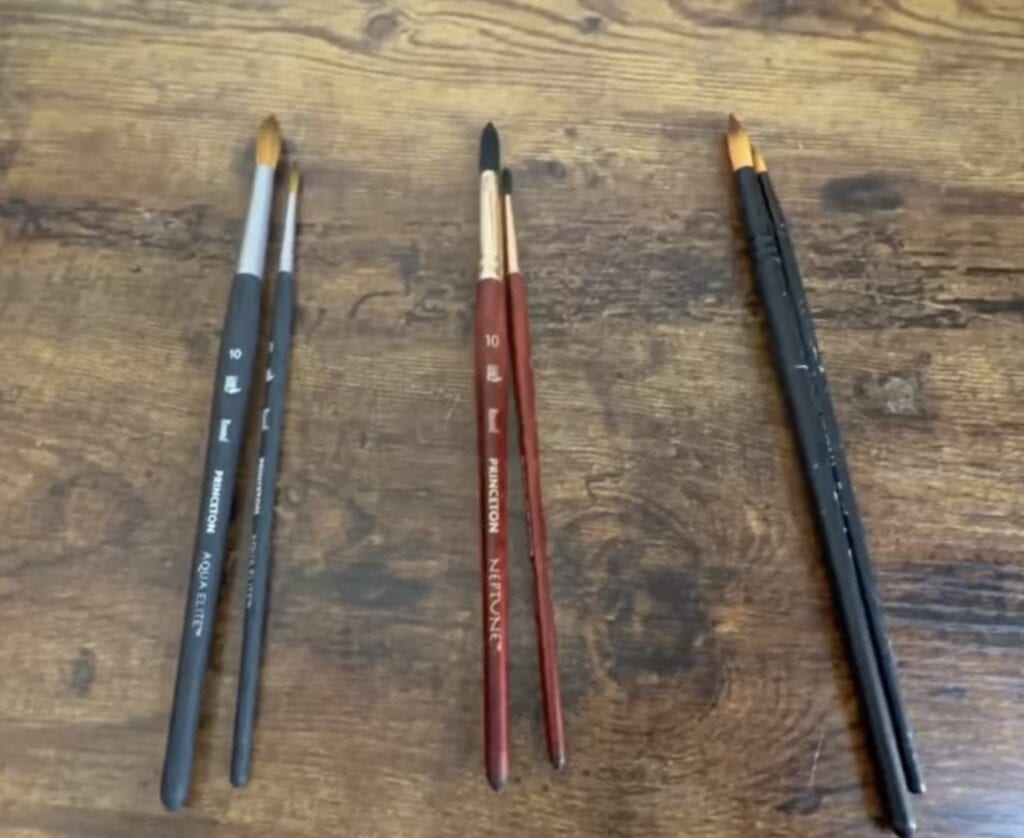
- Round #3 (for detail work)
- Round #10 (for petals)
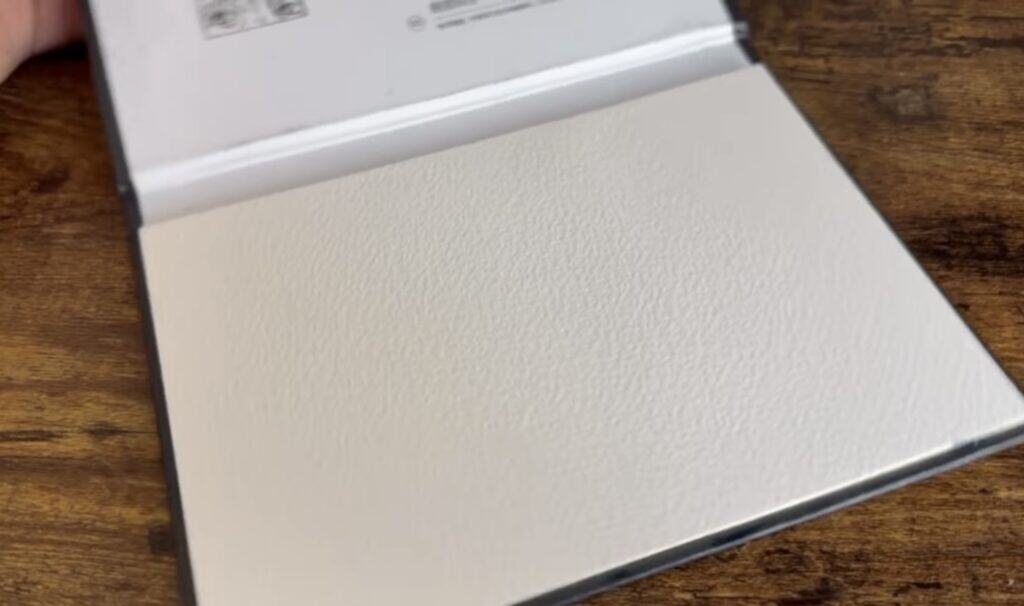
Paper: This one matters more than anything else: use 100% cotton watercolor paper. It makes a huge difference in how your paint behaves. A watercolor block (glued on all sides) is ideal because it keeps the paper flat and makes painting much easier.
Supply Links
| Item | Option 1 | Option 2 |
|---|---|---|
| Watercolor Paints | Daniel Smith Professional Watercolors | MeiLiang Watercolors |
| Watercolor Paper | Arches 100% Cotton Cold Press | Paul Rubens 100% Cotton Cold Press |
| Brushes | Princeton Aqua Elite | Princeton Neptune |
| Brushes | Winsor & Newton Cotman Round | — |
Some links are Amazon affiliate links. I may earn a small commission if you purchase through them, at no extra cost to you. Thank you for supporting my work! 🤍
Step 1: Paint the Center of the Rose
Using your #10 round brush, wet it and pick up a little quinacridone rose at the tip. Make a dot, then start drawing short lines radiating all around that dot; this is the center of your rose.
It’s going to look a little messy and loose. That’s exactly what we want. There’s no plan here. You’re just placing lines around the center until it starts to look like a flower.
Tips:
- As you use your brush more, the pigment will lighten naturally. Add more pigment to the tip as needed.
- While the petals are still wet, add a little extra pigment along the top edges to create separation and dimension.
- Use a clean, damp brush to soften the transition from each line into the petal.
Step 2: Build Out the Petals
Load most of your brush with water, but keep the color concentrated at the tip. Make a line, then clean your brush and drag the pigment downward; this creates the look of a petal.
Repeat this motion, going around and around the center:
- Pick up pigment on the tip of your brush.
- Make a wiggling, curved line (petals wrinkle and curve naturally mimic that).
- Clean your brush and drag the pigment down.
- The paint will disperse and blend on its own.
Keep layering petals, working your way outward. Make the outer petals bigger just like a real rose, the petals on the outside are larger and looser, while the ones at the center are tight and small.
If a space looks like it needs a petal, put one there. Fill in any large areas of white with very light pink. There are no rules, just flow.
Step 3: Mix Your Green and Add Leaves
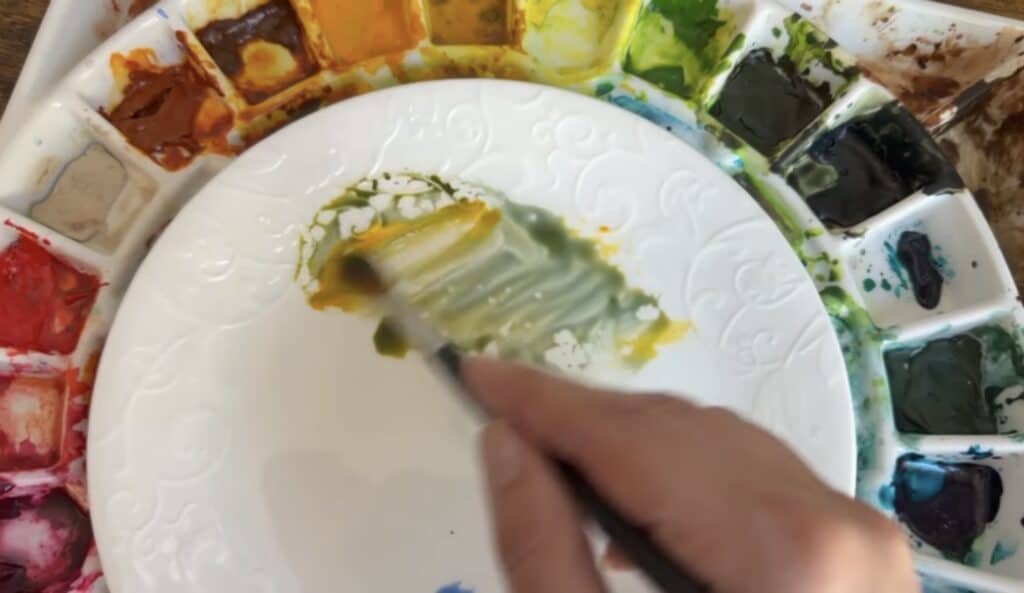
Mix French ultramarine and new gamboge together to create a green. You can lean the mix bluer or yellower, whatever feels right to you.
Using your #10 brush, press down and make two fat strokes for each leaf. Then add a stem by dragging a slightly curved line down from the base of the rose. Add a thorn or two for character.
Step 4: Add Dimension to the Leaves (The Secret Trick)
Here’s a tip that sounds a little unexpected, but it works beautifully: while the green leaves are still wet, pick up some quinacridone rose on your #3 brush and draw thin lines over the leaves.
The pink works with the green to mute and cancel it slightly, creating a gorgeous natural texture. If you’ve ever looked closely at real rose leaves, they often have surprising color variations. This technique mimics that.
This is loose painting. It doesn’t have to be realistic. It can be a little bit fantasy.
Step 5: Sign Your Painting
Clean your brush, pick up some quinacridone rose, and write “rose” directly onto the painting or sign your name, or add any little word that feels right.
Remember: perfection is boring. We are looking for charming.
Final Thoughts
This loose rose technique is meant to be meditative. You’re not worried about the big picture, you’re just making one shape at a time, one petal at a time. Your brain fills in the rest, and suddenly it looks like a rose.
After all, art is supposed to feel peaceful, not stressful.
Thank you for making messy art with me. 🤍
Stay Connected
- 🖌️ More Tutorials: https://www.atforestsedge.com/tutorials/
- 🛍️ Shop Prints: https://www.atforestsedge.com/shop-art-books-gifts/
- 🌸 Instagram: @raeanna_artistofhope
Raeanna
Raeanna loves her home AT FORESTS EDGE. Cultivating life with a big family in America. She is a Watercolor Artist, Writer, Gardener & a Certified Herbalist.


